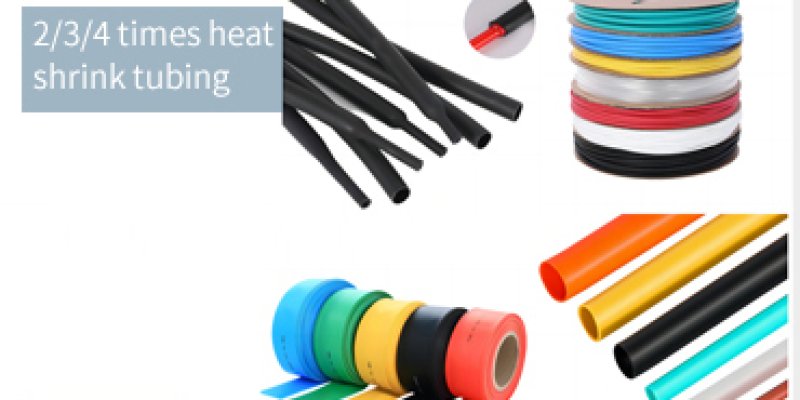
Step-by-Step Instructions for Shrinking Heat Shrink Tubing Like a Pro
Heat shrink tubing is one of the most effective ways to protect your electrical connections and components. Whether you’re working on a DIY project or a professional installation, knowing how to properly apply heat shrink tubing can make all the difference. In this comprehensive guide, we’ll walk you through the steps to shrink heat shrink tubing to ensure a reliable, long-lasting seal. By following these instructions, you’ll achieve a professional result every time.
1. Prepare the Tubing
Before you start, cut the heat shrink tubing to a length that’s slightly longer than the area you need to cover. You want to ensure that the tubing covers the entire connection or wire, leaving no exposed parts. However, avoid cutting it too long, as this could lead to excess tubing that doesn’t shrink properly.
Tip: Always cut a little extra length to ensure you cover the entire area, as the tubing will shrink both in diameter and length.
2. Position the Tubing
Slide the heat shrink tubing over the wire or connection before making any electrical connections. It’s important that the tubing is positioned correctly, as this will affect how well it shrinks. Ensure that the tubing covers the area that needs insulation or protection, with the ends of the tubing sitting comfortably over the edges.
Tip: Position the tubing so that it overlaps the wire and connection at both ends to ensure a secure, tight fit once the tubing shrinks.
3. Select a Heat Source
The ideal tool for shrinking heat shrink tubing is a heat gun. Heat guns provide consistent, controlled heat, allowing you to apply heat evenly without damaging the tubing or the components beneath it. Avoid using an open flame (such as a lighter or torch), as it can be too intense and may damage the tubing or nearby components.
Tip: A heat gun with adjustable temperature settings is ideal for controlling the heat to the appropriate level.
4. Apply Heat Evenly
Now it’s time to apply heat! Begin by heating the middle section of the tubing, and gradually move toward one end, then to the other end. This technique helps prevent air pockets from forming under the tubing, ensuring an even shrink.
Key Tip: Move the heat source in a circular motion around the tubing. This ensures the heat is distributed evenly, avoiding overheating or burning any one spot. Be patient, as even heating is essential for a professional result.
5. Monitor Shrinking
As you apply heat, you’ll notice the tubing gradually shrinking and forming a tight seal around the wire or connection. The tubing will shrink in both diameter and length, so it’s crucial to account for this when cutting the tubing to the right size.
Tip: Keep a close eye on the tubing as it shrinks. It should fit snugly around the wire, without any gaps or bubbles. If there are air pockets or loose areas, reapply heat and adjust the positioning of the tubing.
6. Cool Down
Once the tubing has fully shrunk and formed a tight seal around the wire or connection, remove the heat source. Allow the tubing to cool down naturally before handling it. This cooling phase ensures the tubing sets in place, creating a secure, durable seal that will last for years.
Tip: Avoid rushing the cooling process. Let the tubing cool completely before moving or touching it to ensure it holds its shape and protective properties.
7. Check for Proper Fit
After the tubing has cooled, it’s time to inspect your work. Check the area to ensure the tubing has formed a tight, secure seal around the wire or connection. There should be no visible gaps, air bubbles, or loose areas.
Tip: A properly applied heat shrink tubing will provide a smooth, even finish, forming a protective layer that conforms tightly to the shape of the wire or connection.
Conclusion
By following these steps, you can easily and effectively shrink heat shrink tubing for a professional, durable result. This method ensures that your electrical connections are well insulated and protected, helping to prevent damage from moisture, abrasion, or environmental factors. Whether you’re working on a small DIY project or a larger industrial installation, mastering the art of shrinking heat shrink tubing is a skill that will provide reliable results for years to come.
Pro Tip: For an extra layer of protection, you can use heat shrink tubing with adhesive lining, which forms a waterproof seal when applied correctly.


